
Choosing the Best Portrait Photo for Stunning Results
Did you know that almost 80 percent of the impact in a portrait comes from your choice of photograph? The right image shapes everything from expression to artistic detail. With just a bit of planning, you can transform an ordinary snapshot into a personalized portrait that captures true emotion and character. This step-by-step guide shows how to build a collection and select the best photo for a portrait you will love.
Quick Summary
| Key Point | Explanation |
|---|---|
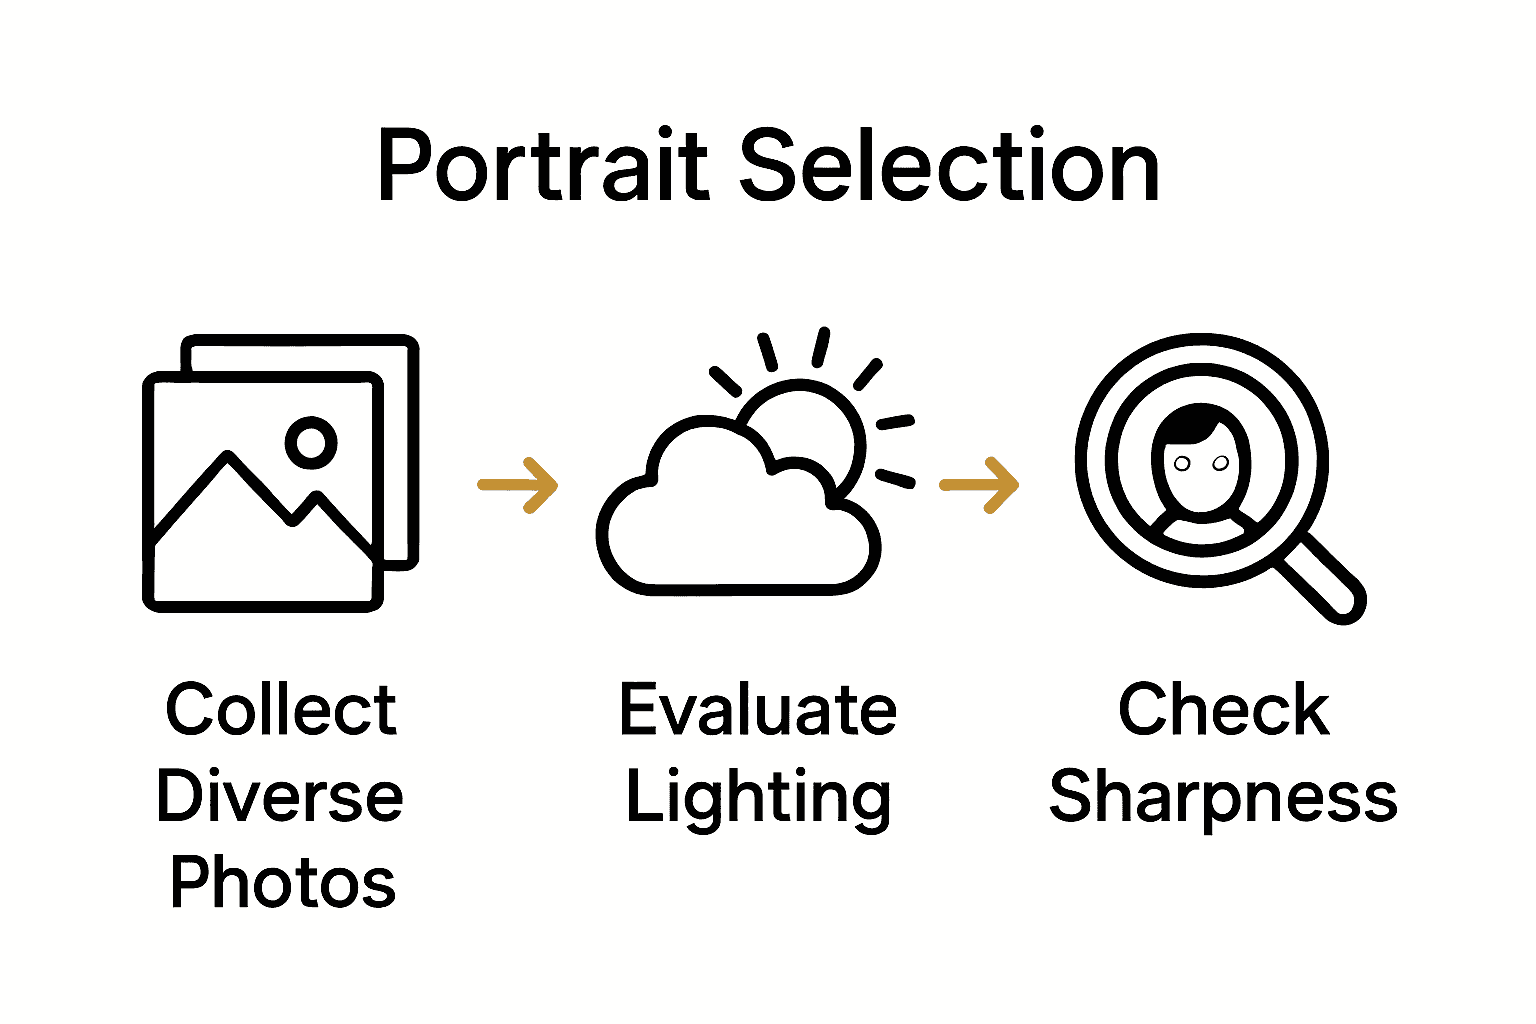
| 1. Gather diverse photos | Collect various angles, expressions, and lighting to find the best representation of your subject. |
| 2. Focus on natural lighting | Use soft, diffused light, ideally during overcast days or the golden hour, for flattering images. |
| 3. Prioritize genuine emotions | Look for candid shots that capture authentic expressions and body language for deeper portraits. |
| 4. Assess image sharpness | Ensure photos are clear with distinct edges; check details around eyes and facial features closely. |
| 5. Verify suitability for artwork | Choose images with balanced colors and eye-level framing to ensure great translation into portrait art. |
Table of Contents
- Step 1: Prepare Your Photo Collection
- Step 2: Evaluate Lighting And Clarity
- Step 3: Check Poses And Expressions
- Step 4: Compare Image Sharpness And Details
- Step 5: Confirm Suitability For Portrait Artwork
Step 1: Prepare Your Photo Collection
Preparing the perfect photo collection is your first critical step towards creating a stunning portrait. This stage sets the foundation for selecting the ideal image that captures your subject’s true essence and personality.
Start by gathering a diverse range of photographs that showcase different angles, expressions and lighting conditions. According to photography experts at Life on the Wall, capturing multiple shots including close-ups of the eyes and face will give you more options when selecting the final portrait.
When collecting photos, prioritise images taken at the subject’s eye level to avoid unflattering distortions. Natural lighting plays a crucial role in portrait photography. Seek out photographs taken during overcast days or during the golden hour when soft, diffused light creates flattering and gentle illuminations. These conditions help prevent harsh shadows and create more nuanced visual textures.
Pro Tip: Aim for at least 10-15 different photographs to ensure you have sufficient variety for your final selection.
Look for images that reveal genuine emotions and authentic moments. Candid shots often provide more personality and depth compared to staged photographs. Pay attention to facial expressions, body language and the overall mood of each image.
As you review your photo collection, consider the guide on personalising portraits to understand how different images can convey unique narratives. Your next step will involve carefully evaluating and selecting the most compelling photograph that truly represents your subject.
Step 2: Evaluate Lighting and Clarity
Evaluating the lighting and clarity of your portrait photograph is a critical step that can make or break your final artwork. This stage requires a discerning eye and understanding of how light transforms the visual quality of an image.
According to photography experts at Life on the Wall, the best photographs are captured during bright but overcast conditions or during the golden hour. These lighting scenarios create soft diffused light that eliminates harsh shadows and preserves intricate details of your subject.
Renowned UK photographer Peter Searle recommends using indirect daylight as a strategic approach. This means positioning your subject near windows where light bounces off walls creating a gentle yet illuminating effect. When evaluating potential photographs, look for images that demonstrate balanced exposure between the subject and background.
Pro Tip: Check the photograph’s highlights and shadows. You want smooth transitions without blown out white areas or completely dark regions.
Zoom into the image and assess the clarity of key features especially eyes and facial details. Sharp focus and crisp textures are indicators of a high quality portrait photograph. Avoid images with visible digital noise or grainy appearance which can detract from the overall visual appeal.
As you review your portrait checklist, remember that lighting is not just about brightness but about creating mood and dimension. Your next step will involve selecting the photograph that best captures your subject’s essence through its lighting and clarity.
Step 3: Check Poses and Expressions
Selecting the perfect portrait means finding a photograph that captures genuine emotion and natural body language. This step is about discovering an image that tells a story beyond mere visual appearance.
According to Photography Talk experts, building trust and creating a comfortable environment is key to eliciting authentic expressions. When reviewing your photographs, look for images where the subject appears relaxed and their personality shines through.
Authentic poses are not about rigid positioning but about capturing moments of genuine connection. Search for photographs where the subject’s body language feels natural and unforced. Look for subtle details like a genuine smile that reaches the eyes soft relaxed shoulders or a natural tilt of the head that reveals character.
Pro Tip: The best portraits reveal something about the person beyond their physical appearance. Seek images that capture a hint of their personality or mood.
Pay close attention to facial expressions. Avoid photographs with forced or uncomfortable looking smiles. Instead find images where the subject appears comfortable and at ease. Notice how different angles and slight variations in pose can dramatically change the emotional tone of the photograph.
As you explore how to personalise your portrait, remember that the right pose and expression can transform a simple photograph into a meaningful piece of art. Your next step will involve making the final selection that truly represents your subject’s unique spirit.
Step 4: Compare Image Sharpness and Details
Comparing image sharpness and details is a crucial step in selecting the perfect portrait photograph. This process goes beyond simple visual appeal and delves into the technical quality that makes an image truly exceptional.
According to official UK photographic guidelines, an ideal photograph must be clear, sharp and unmanipulated. When examining your potential portrait images, zoom in and assess the fine details particularly around the eyes facial features and hair textures.
The concept of acutance provides an interesting framework for understanding image sharpness. As explained in detailed photographic research, acutance refers to the perceived sharpness created by edge contrast. This means a truly sharp image is not just about pixel resolution but how crisp and defined the edges of objects appear.
Pro Tip: Use your computer or tablet to zoom in 100% and examine the image. Look for clean crisp edges and well-defined details without blurriness or digital noise.
Pay special attention to key focal points like eyes which should appear crystal clear with visible individual eyelashes and iris details. Skin textures should look smooth yet detailed without appearing overly smoothed or artificially processed. Compare multiple images side by side to truly understand the differences in sharpness and clarity.
Here’s a summary of essential criteria when evaluating portrait photographs:
| Criteria | What to Look For | What to Avoid |
|---|---|---|
| Lighting | Soft, diffused Natural daylight |
Harsh shadows Strong flash |
| Clarity | Sharp focus Crisp details |
Blurriness Visible noise |
| Expression & Pose | Genuine emotions Relaxed posture |
Forced smiles Stiff poses |
| Composition | Eye-level framing Clear features |
Awkward angles Obscured faces |
| Colour Accuracy | True-to-life tones | Unnatural skin colours |
As you review your custom portrait checklist, remember that technical quality matters as much as emotional resonance.
 Your next step involves making the final selection that balances both artistic and technical excellence.
Step 5: Confirm Suitability for Portrait Artwork
Choosing the right photograph for your custom portrait is about more than just visual appeal. This final step ensures your selected image will translate beautifully into a stunning artwork that captures your subject’s true essence.
According to photography experts at Life on the Wall, the ideal reference photo should be framed at eye level with sufficient facial detail. Look for images that provide clear visibility of facial features and demonstrate natural positioning without artificial distortions.
Colour accuracy plays a critical role in portrait artwork. UK art photography guidance from Cass Art emphasises the importance of natural diffused lighting to preserve true colour representation. Examine your chosen photograph for balanced colour tones that will translate authentically when transformed into an artistic piece.
Pro Tip: Avoid photographs taken with harsh flash photography which can flatten facial features and create unnatural skin tones.
Consider the overall composition and how the image might translate into different artistic styles. Some photographs work brilliantly as realistic portraits while others might shine in more abstract or stylised interpretations. Pay attention to the emotional quality that transcends mere technical perfection.
As you explore creative portrait ideas, remember that the right photograph is a gateway to creating a meaningful piece of art that tells a unique personal story. Your selected image will soon become a cherished artwork capturing a moment in time.
Transform Your Favourite Photo into Treasured Portrait Art
Do you find yourself sifting through photos, struggling to choose that one perfect image that reflects your loved one’s true essence? Many readers of our guide on selecting the best portrait photo feel exactly this way. Factors like lighting, sharpness and authentic expression are critical, yet can quickly become overwhelming when you want a memorable portrait that truly stands out.

Imagine the relief of having experts help you turn your cherished photo into custom portrait art that captures every unique detail. At The Family Portrait Company, your carefully chosen photograph becomes a professional masterpiece. Browse our Home page for examples of stunning results created from real client images. Trust your selection and make your purchase today so you can preserve a meaningful moment for years to come. Visit The Family Portrait Company now and discover how easily your best photo can become a lasting work of art.
Frequently Asked Questions
How do I prepare my photo collection for choosing the best portrait photo?
Gather a diverse range of photographs that showcase different angles, expressions, and lighting conditions. Aim for at least 10-15 images to ensure variety in your final selection.
What lighting conditions should I look for in a portrait photo?
Ideal lighting for portraits includes bright but overcast conditions or the golden hour, which creates soft, diffused light. Choose photos taken in these conditions to minimize harsh shadows and enhance the overall quality of the image.
How can I evaluate the expressions and poses in my portrait photographs?
Look for images where the subject appears relaxed, with genuine emotions and natural body language. Focus on subtle details like a genuine smile or relaxed posture to ensure the photograph captures their personality.
What should I check for regarding image sharpness and details?
Examine the clarity of key features, particularly the eyes and facial details, to ensure they are sharp and well-defined. Zoom in on the image to look for clean edges and avoid any signs of blurriness or digital noise.
How do I confirm if a selected photo is suitable for portrait artwork?
Ensure the photo is framed at eye level and displays clear visibility of facial features without distortions. Also, check for accurate color representation, avoiding images taken in harsh flash light that can alter skin tones and features.
Recommended
- Ensuring Photo Quality for Portraits: A Family Approach – The Family Portrait Companys
- 7 Creative Ideas for Custom Portrait Inspiration – The Family Portrait Companys
- Master the Custom Portrait Ordering Process for Families and Pets – The Family Portrait Companys
- How to Personalize Family Portraits for Unique Memories – The Family Portrait Companys