
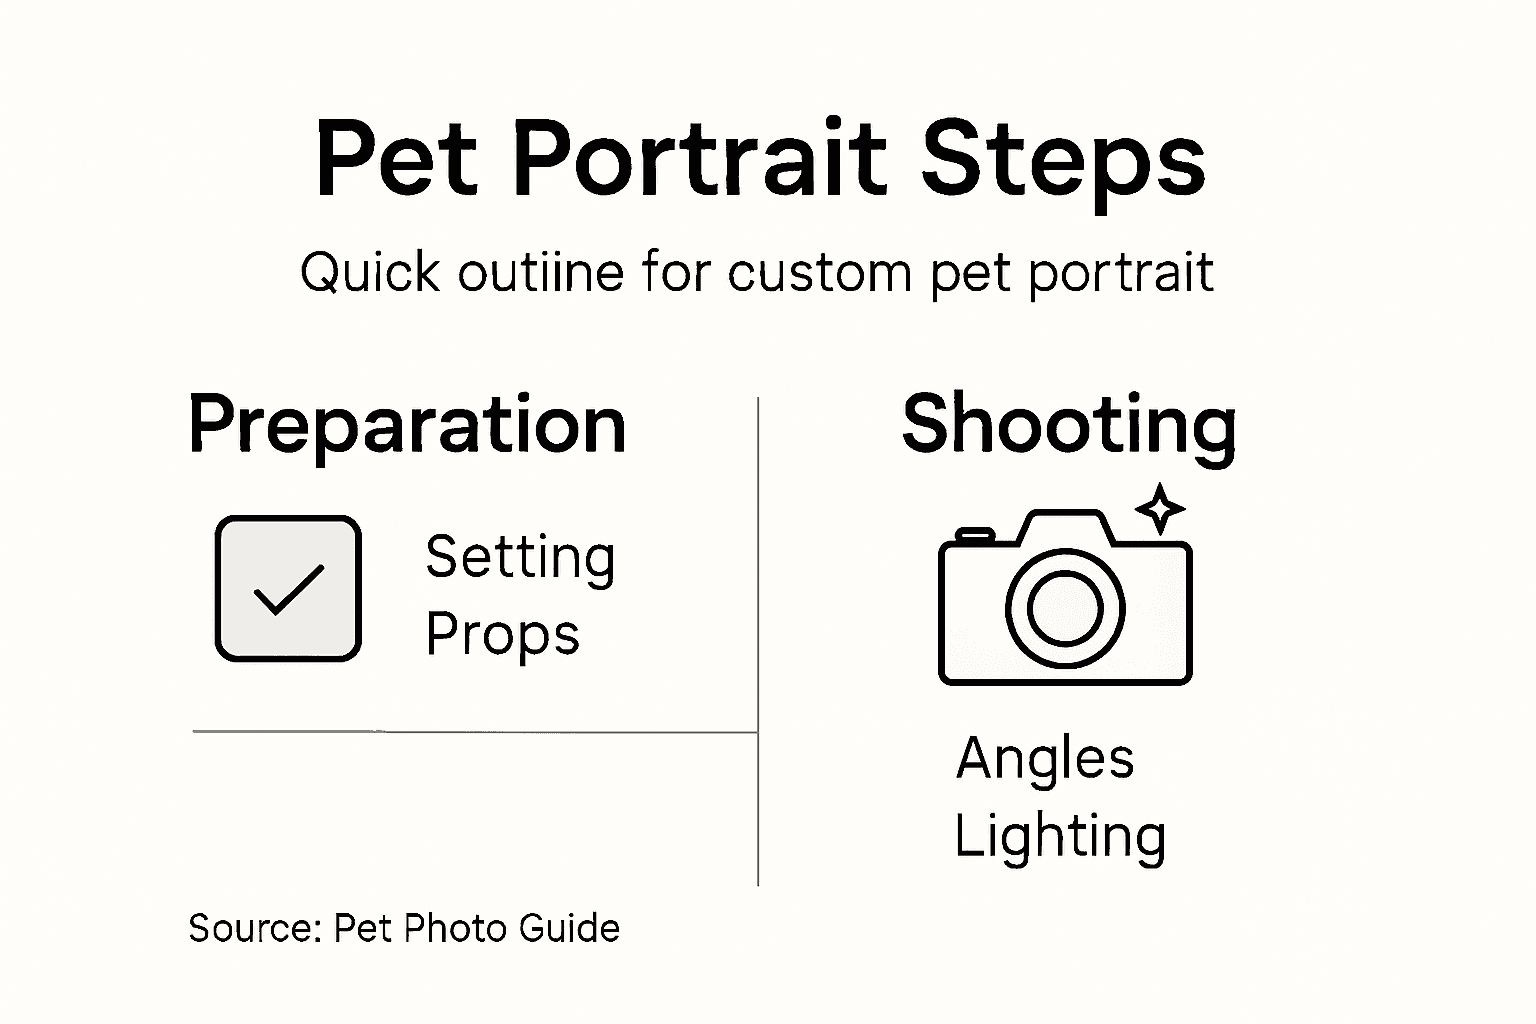
Step by Step Pet Photo Guide for Custom Portraits
Busy British families know how challenging it can be to capture those fleeting, heart-warming moments with their pets. Quality pet portraits are more than keepsakes, they preserve memories that your children will treasure for years. From preparing a familiar space to mastering natural lighting and posing, this guide breaks the process into simple steps so you can create stunning photos that truly reflect your furry companion’s personality. Discover practical techniques and insider tips for achieving relaxed and expressive pet portraits at home.
Table of Contents
- Step 1: Prepare Your Pet And Setting For The Photo
- Step 2: Set Up Natural Lighting And Camera Position
- Step 3: Engage Your Pet To Achieve The Ideal Pose
- Step 4: Capture Multiple Photos With Varied Angles
- Step 5: Review Your Images For Portrait Quality
Quick Summary
| Key Takeaway | Explanation |
|---|---|
| 1. Create a Comfortable Environment | Ensure your pet feels secure by choosing a familiar, quiet space with minimal distractions. |
| 2. Use Natural Lighting Effectively | Position the camera to utilise soft, natural light for flattering portraits, avoiding harsh shadows and direct sunlight. |
| 3. Engage Your Pet Playfully | Use treats and toys to maintain your pet’s interest, ensuring the session is enjoyable and stress-free. |
| 4. Capture from Multiple Angles | Experiment with various perspectives to showcase your pet’s personality through diverse compositions. |
| 5. Review Images Thoroughly | Assess photographs for quality based on sharpness, lighting, and expression to select the best portrait. |
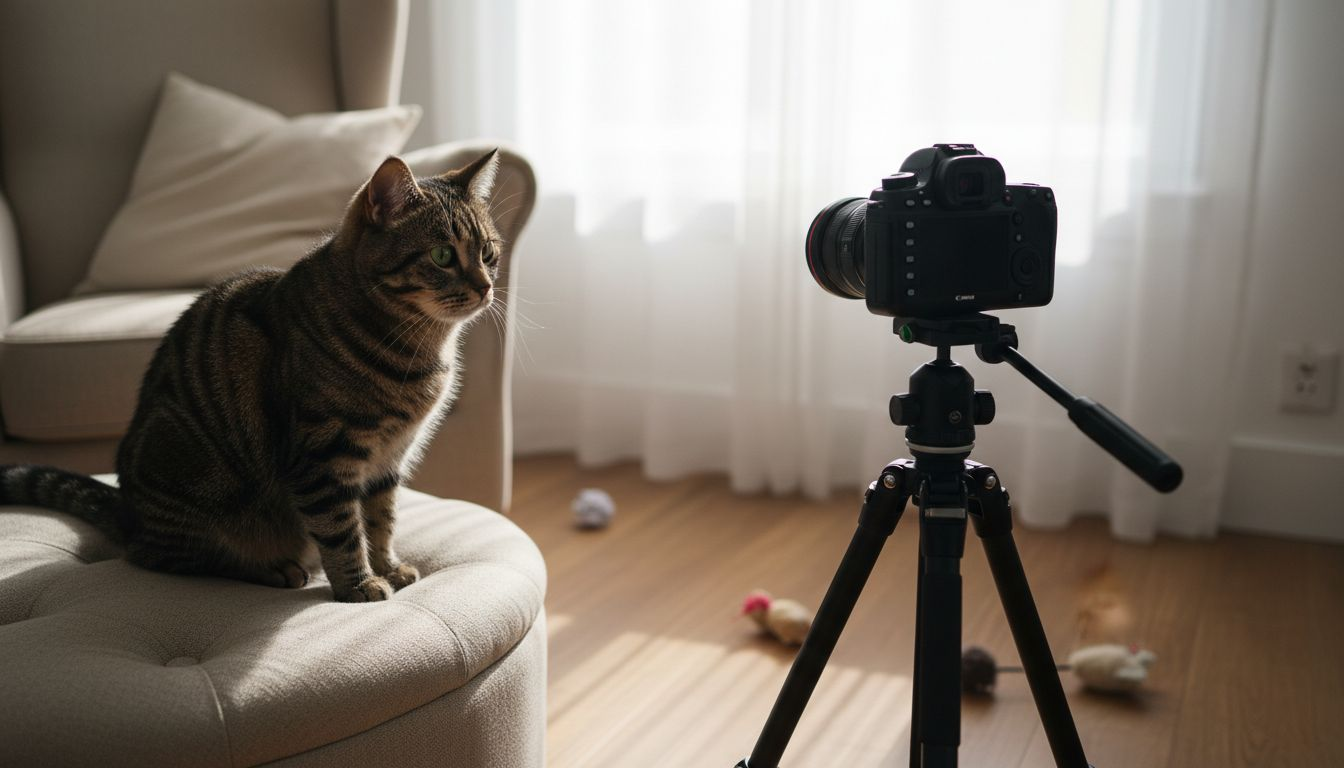
Step 1: Prepare your pet and setting for the photo
Capturing the perfect pet portrait starts with thoughtful preparation. Setting the stage for a successful photoshoot requires creating a comfortable environment that helps your furry companion feel relaxed and confident.
To begin, select a quiet and familiar space where your pet feels secure. Consider a room with soft, natural lighting and minimal distractions. Prepare your pet for a calm photo session by choosing an area they associate with positive experiences. This might be near their favourite bed or in a space where they typically feel most at ease.
Prepare your photoshoot environment strategically with these key considerations:
- Remove potential visual and auditory distractions
- Select a consistent, neutral background
- Ensure the room temperature is comfortable
- Have pet treats and toys nearby for positive reinforcement
The goal is creating an atmosphere that allows your pet’s personality to shine naturally. Gather necessary supplies like leashes or collars to help manage and guide your pet during the session. Patience and a calm demeanour will help your pet feel secure and cooperative.
Top Tip: Place familiar blankets or toys in the photoshoot area to help your pet feel more relaxed and comfortable during the portrait session.
Step 2: Set up natural lighting and camera position
Creating stunning pet portraits requires masterful manipulation of light and perspective. Understanding how to capture your furry companion’s essence involves strategic camera positioning and intelligent lighting techniques.
Use natural lighting techniques by selecting soft, diffused illumination that highlights your pet’s features without creating harsh shadows. Position yourself near windows with indirect sunlight or choose shaded outdoor areas that provide even, gentle illumination. This approach prevents squinting and ensures your pet looks comfortable and relaxed.
Consider these critical camera and lighting considerations:
- Position your camera directly at pet’s eye level
- Use natural window light or soft outdoor shade
- Avoid direct midday sunlight
- Keep backgrounds simple and uncluttered
- Stabilise your camera using a tripod
Framing your shot requires patience and precision. The goal is capturing your pet’s unique personality through thoughtful composition. By creating a soft, even lighting environment, you’ll produce portraits that feel natural and authentic.
Pro Tip: Test your camera settings and lighting beforehand to understand how different angles and light conditions affect your pet’s appearance.
Here is a comparison of common lighting settings and their effects on pet portraits:
| Lighting Type | Advantages | Disadvantages |
|---|---|---|
| Natural window light | Soft, even illumination | Availability varies daily |
| Outdoor shade | Reduces harsh shadows | Depends on weather |
| Direct sunlight | Bright, vivid colours | Causes squinting, shadows |
| Artificial indoor light | Control over intensity | Can create yellow tones |
Step 3: Engage your pet to achieve the ideal pose
Capturing the perfect pet portrait requires more than technical skill – it demands a deep understanding of your pet’s unique personality and behaviour. Successful pet photography is an art of patience, connection, and gentle encouragement.
Use positive training techniques to create a relaxed and cooperative photoshoot environment. This means approaching your pet with calm energy, using treats, favourite toys, and enthusiastic verbal praise to maintain their interest and comfort.
Key strategies for achieving the ideal pose include:
- Keep photoshoot sessions short and enjoyable
- Use high-value treats as motivation
- Speak in a soft, encouraging tone
- Have favourite toys nearby to capture attention
- Allow natural breaks and rest periods
Understand that your pet’s mood and comfort are paramount. Remain patient and responsive to their signals, avoiding forced poses that might create stress or anxiety. The most compelling portraits emerge when your pet feels relaxed, confident, and genuinely engaged.
Pro Tip: Practice your photoshoot techniques during regular playtime to help your pet feel comfortable and natural in front of the camera.
Step 4: Capture multiple photos with varied angles
Successful pet photography is an art of capturing nuanced moments from multiple perspectives. The key to creating a memorable portrait lies in experimenting with diverse angles and compositions that reveal your pet’s unique personality.
Explore multiple photographic perspectives to ensure you capture the most flattering and expressive representation of your beloved companion. This approach allows you to document subtle details and characteristics that might be missed in a single, static shot.
Strategies for capturing varied photographic angles include:
- Shoot from multiple eye levels
- Capture front, side, and profile views
- Experiment with close-up and full-body shots
- Include candid and posed photographs
- Focus on unique facial expressions and body language
These varied perspectives help reconstruct a comprehensive image of your pet’s three-dimensional form and personality. By taking numerous shots from different angles, you increase the likelihood of capturing that perfect, frame-worthy moment.
Pro Tip: Use burst mode on your camera to capture a series of rapid shots, increasing your chances of finding the most compelling image.
Step 5: Review your images for portrait quality
After capturing multiple shots of your beloved pet, the critical next stage is carefully evaluating each image to select the most compelling portrait. This process requires a discerning eye and a systematic approach to assessing photographic quality.
Use image comparison techniques to objectively analyse your photographs. Look beyond mere aesthetic appeal and evaluate technical aspects such as lighting, sharpness, composition, and your pet’s genuine expression.
Key criteria for reviewing portrait quality include:
- Check overall image sharpness
- Assess lighting and exposure
- Evaluate facial expression and emotion
- Look for natural, relaxed body positioning
- Confirm background simplicity and neutrality
- Review colour balance and contrast
A successful pet portrait captures more than just visual accuracy – it reveals your pet’s unique personality and spirit. Take time to review each image carefully, considering not just technical perfection but the emotional resonance of the photograph.
Pro Tip: View your images on a larger screen and compare them side by side to make a more accurate selection of the most compelling portrait.
Use this summary to help distinguish ideal and less ideal pet portrait outcomes:
| Aspect | Qualities of a Strong Portrait | Signs of a Weak Portrait |
|---|---|---|
| Sharpness | Crisp, defined details | Blurry or out-of-focus |
| Lighting | Even, flattering, natural | Uneven, harsh, unnatural |
| Expression | Relaxed, engaged, expressive | Anxious, disinterested, tense |
| Background | Neutral, distraction-free | Cluttered, visually busy |
| Colour balance | Accurate, vibrant tones | Washed out or colour cast |
Turn Your Perfect Pet Photo Into a Timeless Custom Portrait
Capturing your pet’s personality is a rewarding challenge that requires careful preparation, natural lighting, and patience as you discovered in the step-by-step guide. If you want to transform those carefully crafted photos into a lasting keepsake that celebrates your furry friend’s unique spirit our Home page – The Family Portrait Companys offers the perfect solution. We understand the importance of sharpness warmth and true-to-life expression in custom pet and human portraits.

Bring your best shots to life with a bespoke portrait designed to preserve your pet’s charm forever. Begin your creation journey now by visiting The Family Portrait Company and see how we turn your favourite pet photos into art you will cherish. Don’t wait to capture that genuine connection with a professionally crafted portrait that honours your beloved companion.
Frequently Asked Questions
How can I prepare my pet for a photoshoot?
To prepare your pet for a photoshoot, select a quiet and familiar space where they feel secure. Use familiar blankets or toys to help them relax and set out treats to maintain their interest during the session.
What lighting should I use for pet portraits?
Use natural lighting for pet portraits, as it provides soft, even illumination. Position your pet near a window with indirect sunlight or in shaded outdoor areas to avoid harsh shadows and ensure your animal appears comfortable.
How can I capture my pet’s best angles?
To capture your pet’s best angles, take multiple shots from different eye levels and perspectives. Experiment with close-ups, full-body shots, and candid moments to document their personality effectively.
What should I look for when reviewing my pet photos?
When reviewing your pet photos, assess the sharpness, lighting, and your pet’s expression in each image. Look for clean backgrounds and balanced colours to choose the most compelling portraits that reflect your pet’s personality.
How can I engage my pet during the photoshoot?
Engage your pet during the photoshoot by using treats, favourite toys, and a calm voice to keep their attention. Keep sessions short and encourage breaks to prevent stress, ensuring your pet feels comfortable and willing to cooperate.
Recommended
- How to Prepare Portrait Photos for Custom Pet Art – The Family Portrait Companys
- How to Prepare Photos for Portraits: A Practical Guide – The Family Portrait Companys
- Portrait Photo Preparation for Custom Family and Pet Art – The Family Portrait Companys
- Ordering Pet Portraits Online Guide for UK Pet Owners – The Family Portrait Companys
- 7 Best Taxi That Takes Dogs Services in 2026 - Capital Cars